Git is the most popular version control system available nowadays. The importance of Git is nowhere second to learning to write code. In this article, we will have a detailed look at Git, its history, how to start Git for beginners, the important Git Commands etc.
Introduction
Git is the most popular version control system available nowadays. The importance of Git is nowhere second to learning to write code. In this article, we will have a detailed look at Git, its history, how to start Git for beginners, the important Git Commands etc.
Git and its brief history
Git was built by Linus Torvalds in 2005, the same person who developed Linux as well. It’s lead developer and maintainer is Junio Hamano since then. Git development began in early 2005, when Linus and fellow Linux maintainers discontinued the use of the then source control management system (SCM), namely BitKeeper. The current Git Version is 2.27.
What is Git
Version Control System for tracking changes in files.
- Distributed Version Control
- Coordination between multiple developers
- Who made what changes and when
- Revert back at any time
- Local and Remote repos
Git Concepts
- Keeps track of code histories
- Takes snapshots of your files
- You decide when to take a snapshot by making a ‘commit’
- You can visit any snapshot at any given time
- You can stage files before committing
Getting Started with Git
Getting started with Git is very easy nowadays; Git is available for all platforms (Linux, Windows, macOS).
Installation
- Linux (Debian)
- $ sudo apt-get install git (command)
- Linux (Fedora)
- $ sudo yum install git (command)
- Mac
https://git-scm.com/download/mac- Windows
https://git-scm.com/download/win,(installer)
I have a Win 10 machine currently, which already has Git installed. Installation of Git comes with a Git terminal (Git Bash) and Git GUI (Image 1, Image2, Image3).
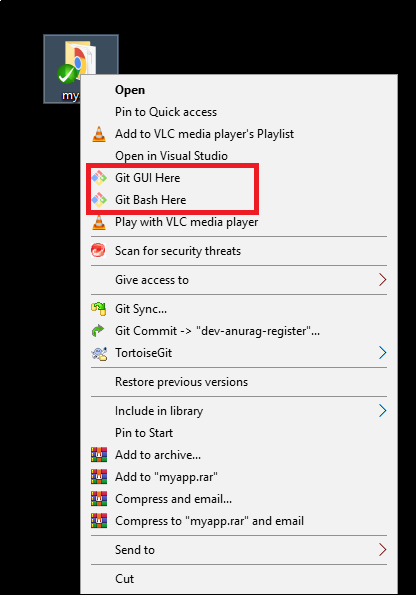
Image 1 – Git Bash & Git GUI
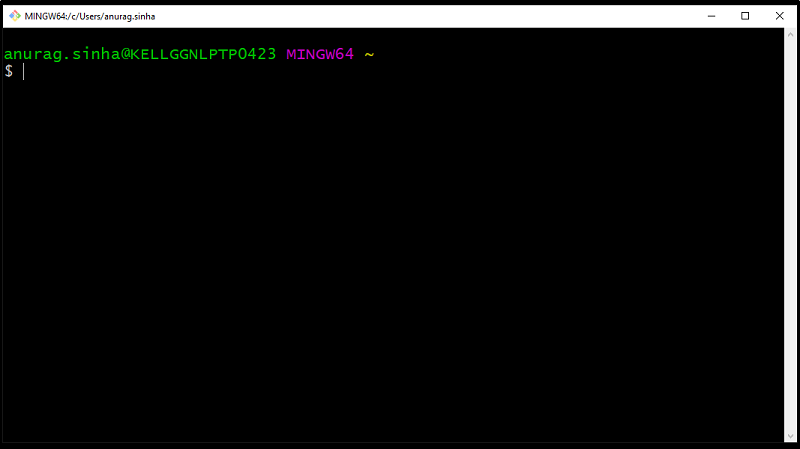
Image 2 – Git Bash
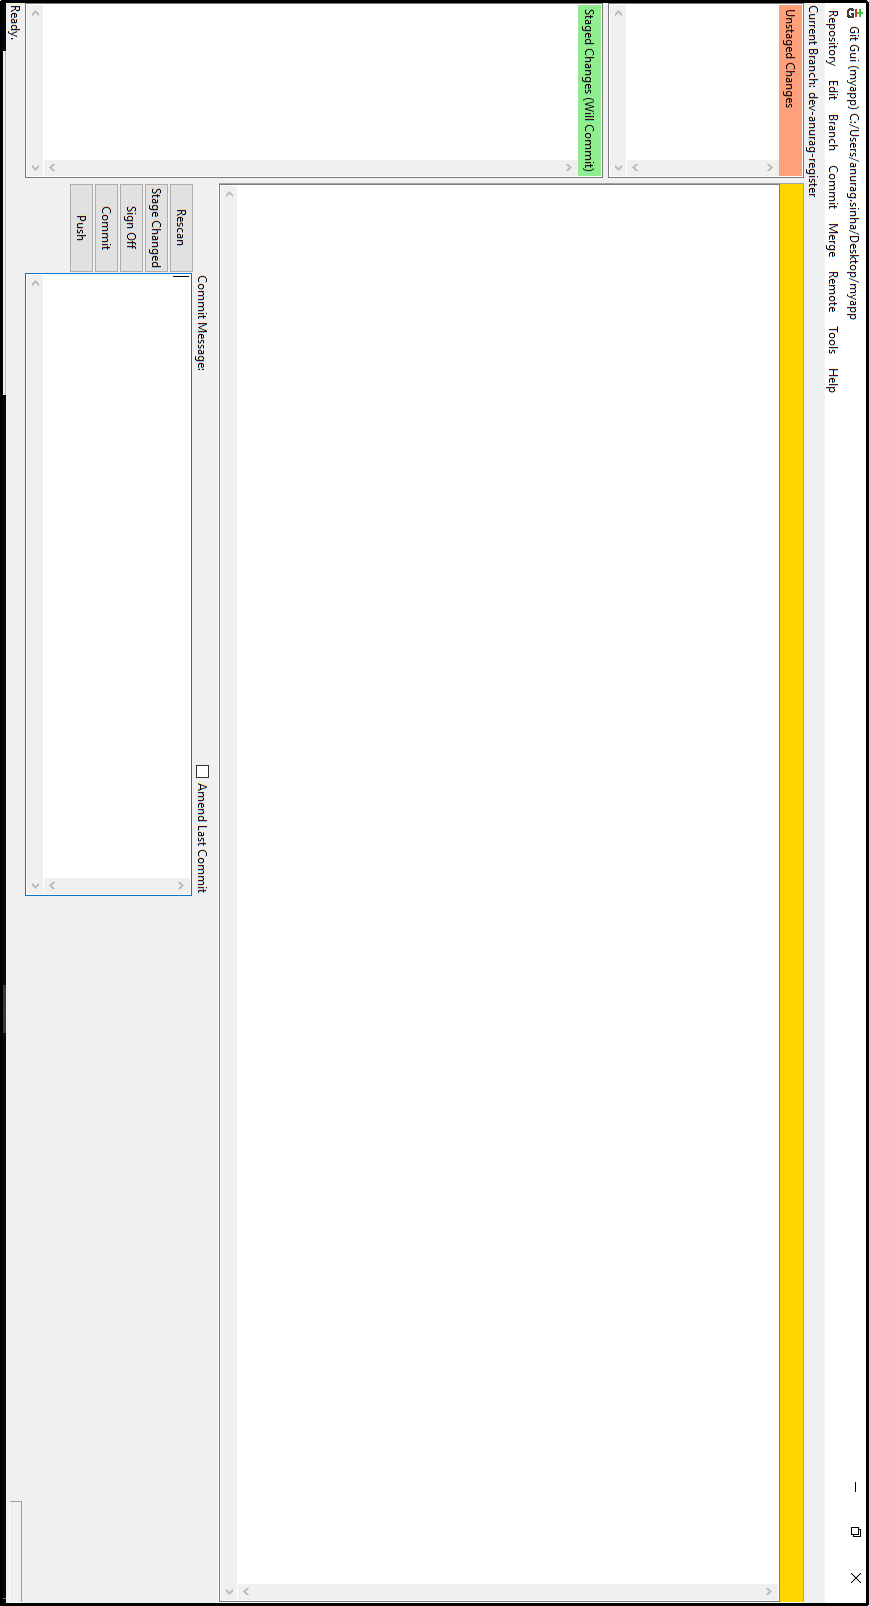
Image 3 – Git GUI
Git Bash and Git GUI can be opened directly from the search bar in Windows, or by right click on any directory. Right click on any directory will open the bash and GUI pointing to the directory’s path.
Git Version and Update to latest version
Let us see which version of Git we have and how can we update to the latest version.
git --version – gives the installed version of Git, the below snapshot (Image 4) shows the installed version as 2.21.0. he latest Git version available is 2.27.0, the command to update Git for Windows from the terminal is :- git update-git-for-windows. We can see from the below snapshots that update to latest version takes place after the update command (Image 4, Image 5).
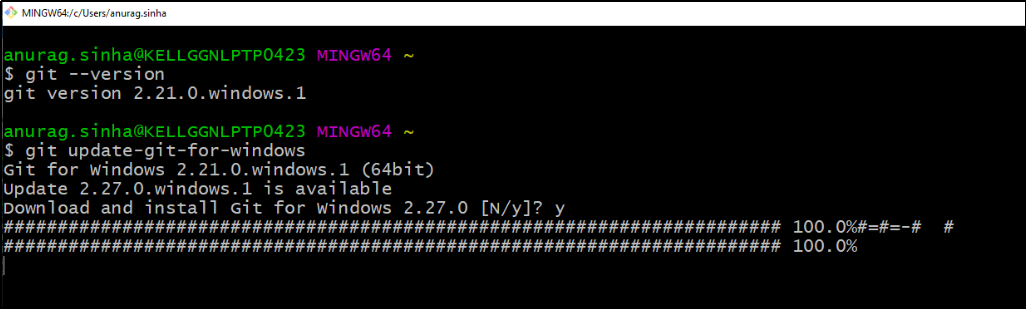
Image 4 – git version and update
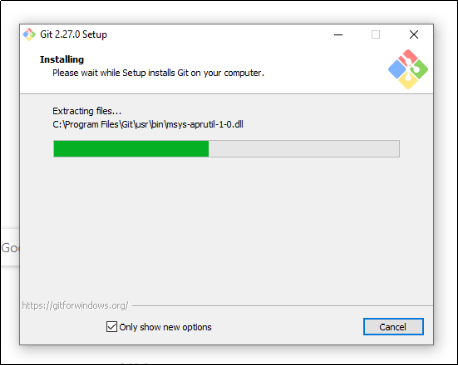
Image 5 – Download and installation to latest version
Now, since now we have the latest installation of Git in our system, let us learn some Git command and terminologies, and execute them.
Git Commands
git init
Let us open bash and first create a directory; we will add few files and then initialize the directory as a git repo.
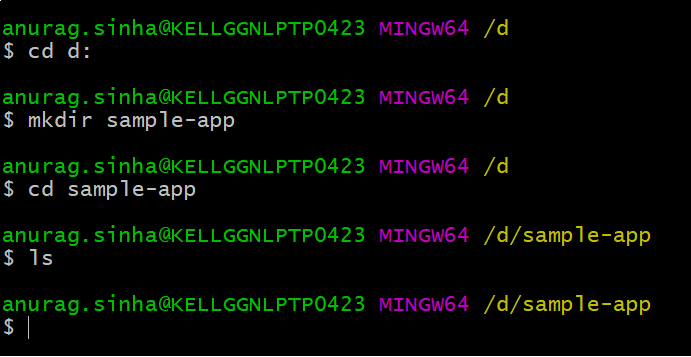
cd d: - go to D drive
mkdir sample-app --> create a directory/folder named sample-app
cd sample-app --> go to sample-app
ls --> list out contents (currently no content, hence ls displays empty)
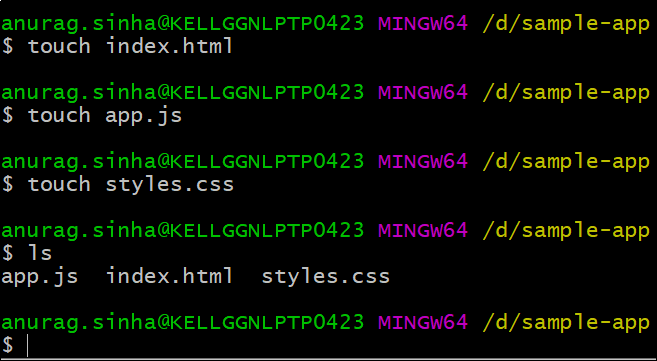
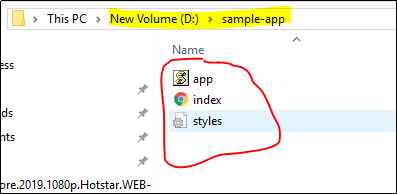
touch filename creates the file , We have created 3 files, namely – index.html, app.js, styles.css using the touch command, ls now displays the content of the directory
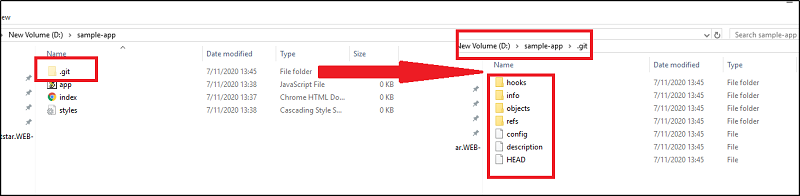
Let us initialize the directory sample-app as a git repo by using command git init.

git init command initializes a directory and creates a hidden .git folder, the default branch created is master.
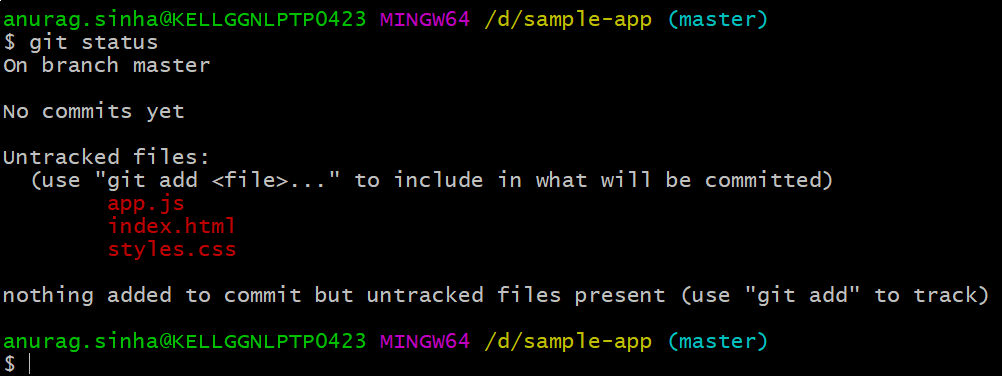
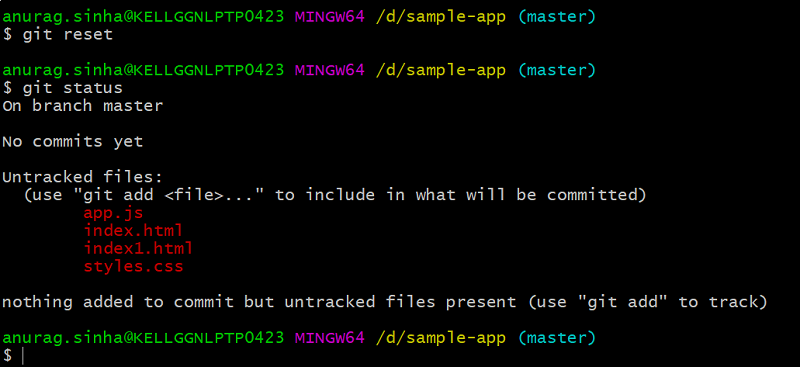
git status
git status command lets us see which changes have been staged, which haven’t, which changes are being tracked and so on. Currently we don’t have any file in the staging area, because we haven’t added any.
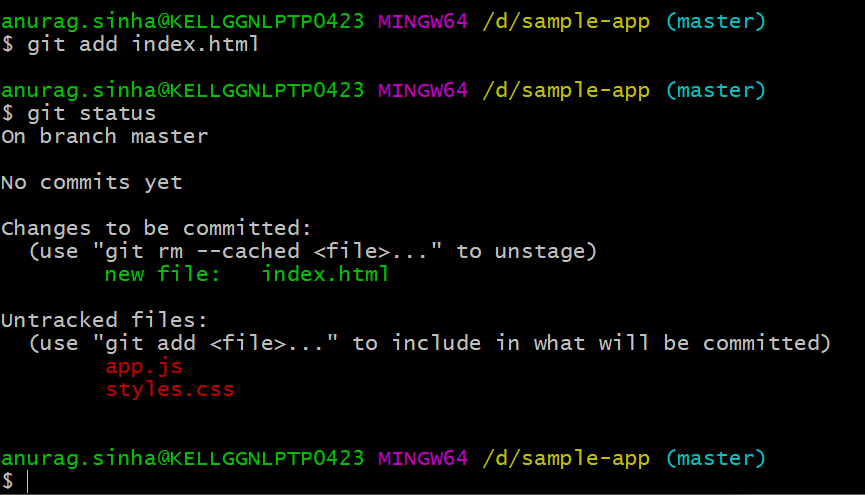
git add
Let us add files present in the sample-app directory to the staging area.
git add <filename> – git add index.html, index.html gets added to the staging area and git status command confirms it as shown below.
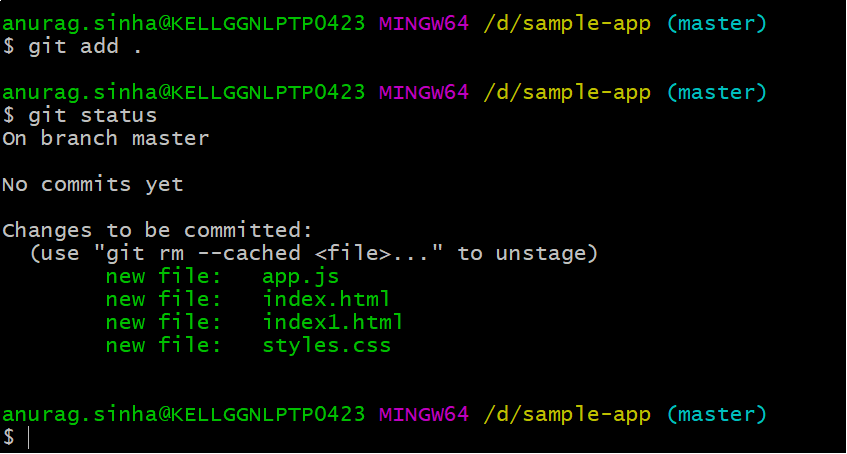
git add <filename> will add a single file to the staging area, we can use, git add *.extension to add all the files of a certain extension. Let’s prove it. Create an index1.html file, execute git add *.html, and then execute git status to confirm whether all the html files have been added or not.

To add all the files of a directory irrespective of the extension, we can use
git add
git rm --cached <filename>
git rm --cached <filename> command is used to remove a file from the staging area, i.e. to unstage a file, let’s look at it in action.
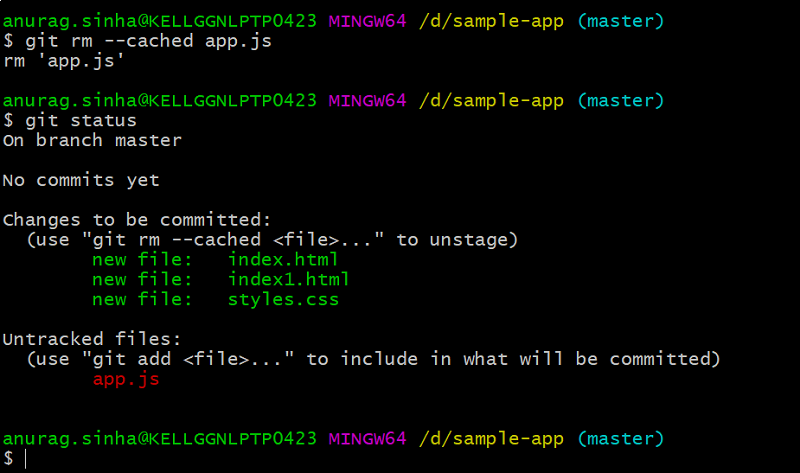
We see in the above screenshot that we have unstaged app.js and it is no longer present with all the other files in the staging area.
git reset
git reset command will unstage all the files.
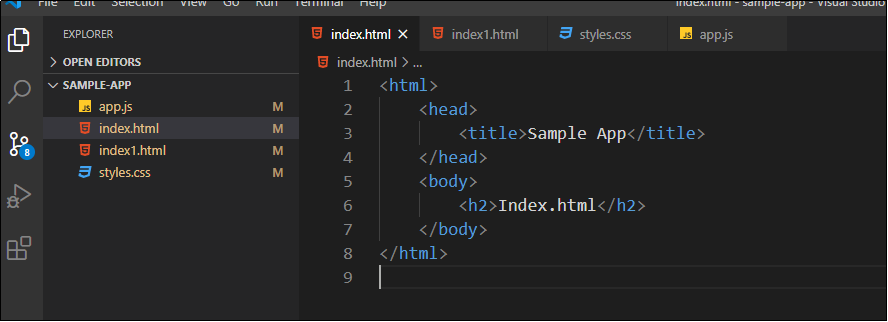
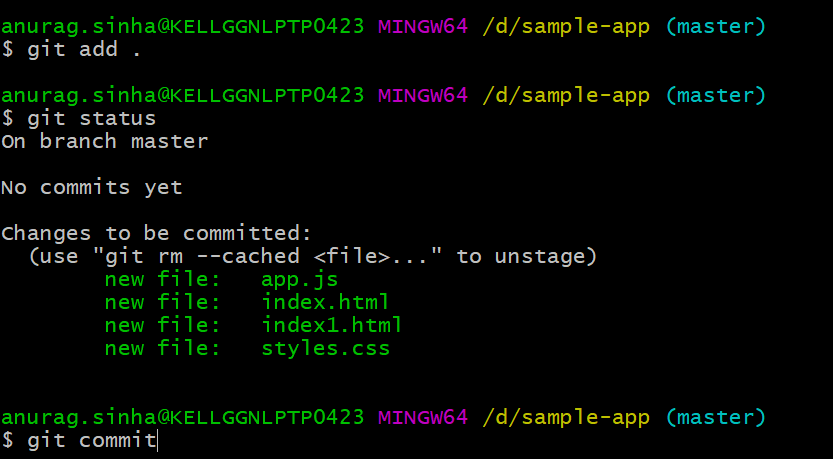
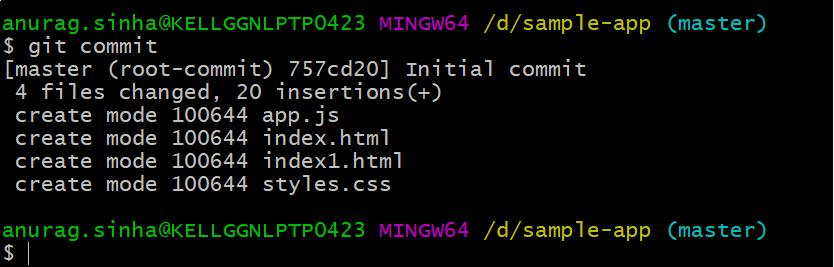
git commit
git commit command is used to save the staged files to the local repository. Let us make few changes in the files and then try to commit.
git commit command takes us to a vim editor internally in which we can provide our commit message by clicking on ‘i’ key and being in insert mode. Once we are done with our commit message, we can click Esc key to be out of insert mode and type ‘:wq’ to finally commit.
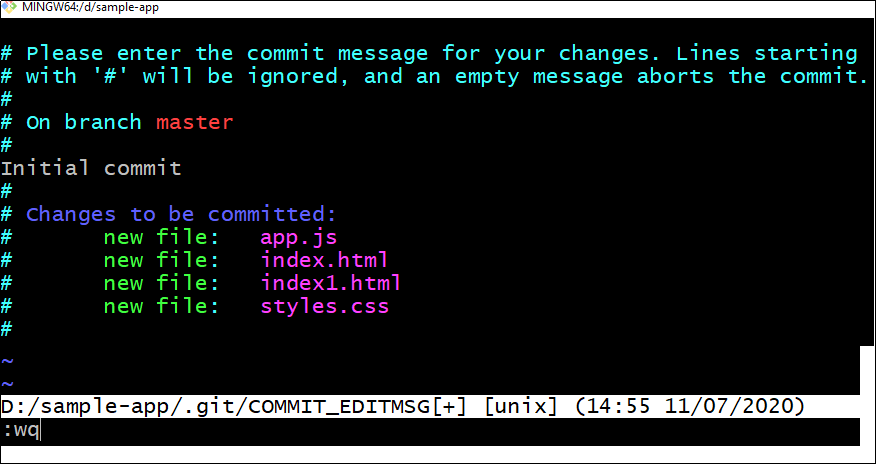

We can also use git commit –m ‘commit message’ command to commit a change directly, this command will help us to not enter the vim editor.
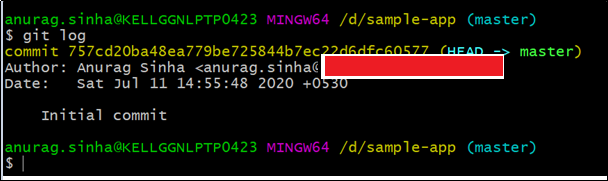
git log
git log command lists all the commits to a certain branch in reverse chronological order
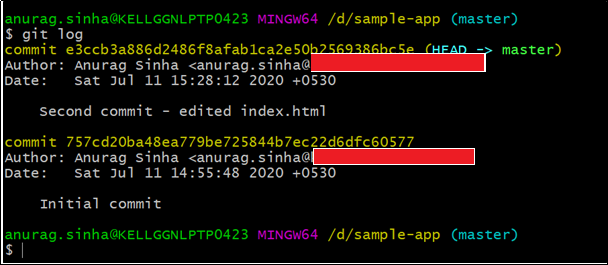
Let us change a file and commit it again to see the logs.
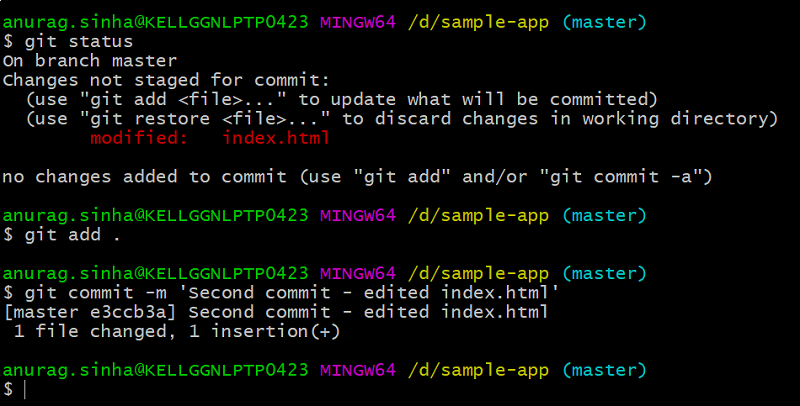
We have edited index.html à staged the file using git add . à Committed the file using git commit –m ‘Commit Message’. Now git log shows 2 commits, the latest one being on the top.
Now that we are comfortable with init, add , commit, reset, log commands, we need to ponder as to where does git store its local repository.
The answer is the hidden .git folder in the working directory.
We can find the done commits in the master file located at :
directory-name\.git\logs\refs\heads
In our case,
D:\sample-app\.git\logs\refs\heads\master
0000000000000000000000000000000000000000 757cd20ba48ea779be725844b7ec22d6dfc60577 Anurag Sinha <anurag.sinha@gmail.com> 1594459548 +0530 commit (initial): Initial commit
757cd20ba48ea779be725844b7ec22d6dfc60577 e3ccb3a886d2486f8afab1ca2e50b2569386bc5e Anurag Sinha <anurag.sinha@gmail.com> 1594461492 +0530 commit: Second commit - edited index.html
.gitignore file
.gitignore is not a command; rather it is a file, in which we can include those directories and files, which we don’t want to commit.
Let’s create a .gitignore file in our directory, this file will be visible once we have extensions of the files also selected, else we will see a 0 KB file with no name.

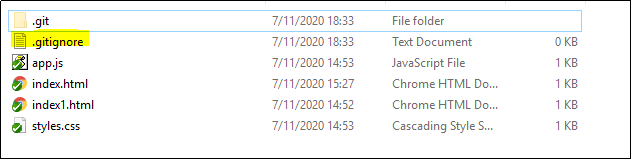
Let’s create a log.txt file and add it to .gitignore.
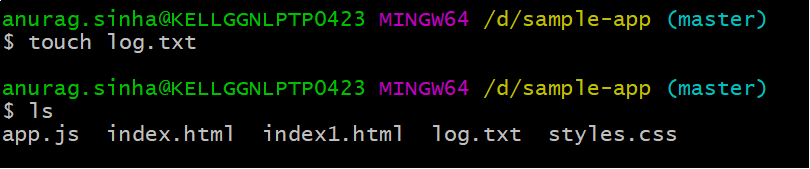
Let’s do some changes in log.txt and see whether we can find this file in the changed ones and ultimately add and commit.
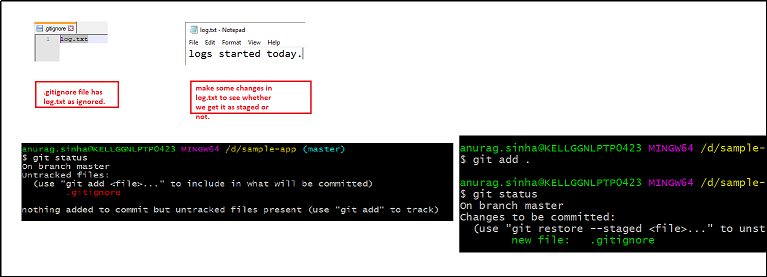
Once we do a git add . only the .gitignore file gets added to the stage and not log.txt, because it has been ignored. .gitignore is very helpful, often we do not want few files/folders to not to be staged, ex: node_modules in an angular or react app. We can add regex as well in the .gitignore file to exclude certain types of files and folders.
git branch
git branch command is used to create different branches. Often developers work on their own branches and merge their changes in the master branch. Let’s create a diff branch.

git branch <branchname> creates a branch but we need to checkout that branch and then work.

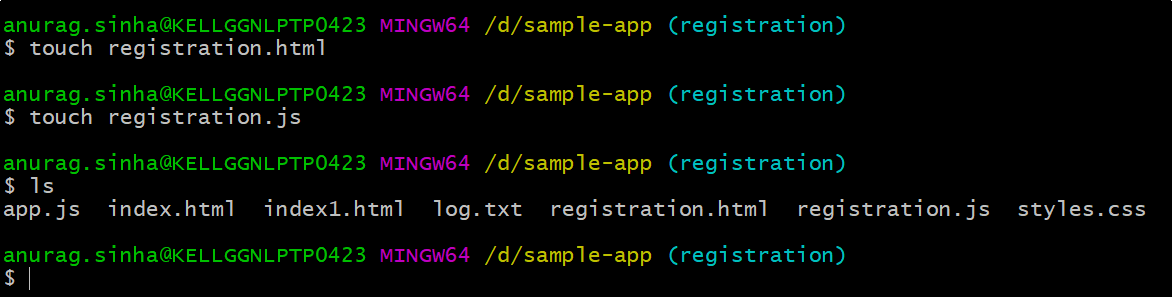
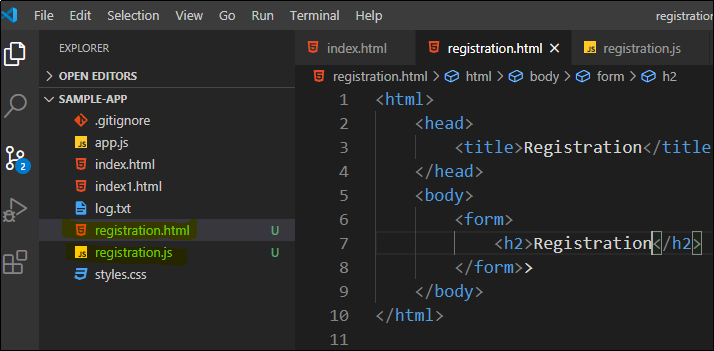
git checkout <branchname> helps us to switch to the said branch, we have named the branch as registration assuming we will create a registration module in this branch, let’s add few files in it. I have created 2 files, namely, registration.html and registration.js
Let’s edit these 2 files.
Let’s execute git add . command to stage the changed files in registration branch.
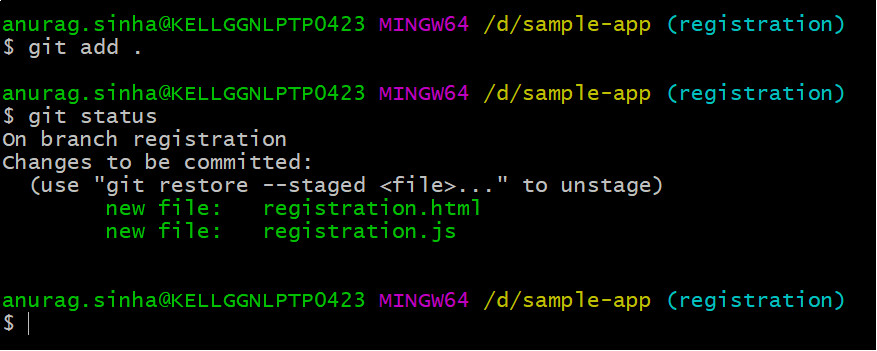
`
Let us commit the staged files via git commit –m ‘commit message’ command
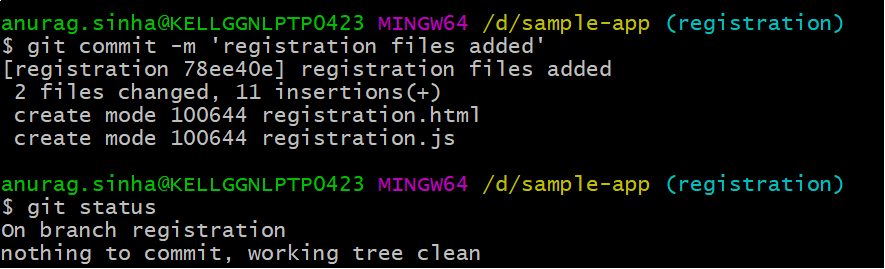
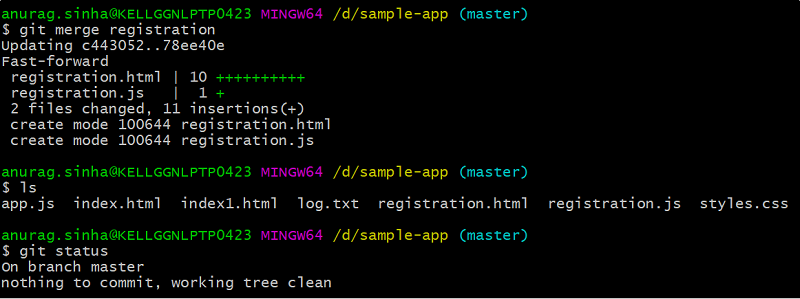
These 2 files are committed in registration branch and hence if we checkout the master branch, we won’t find these 2 files, which is quite self-explanatory.
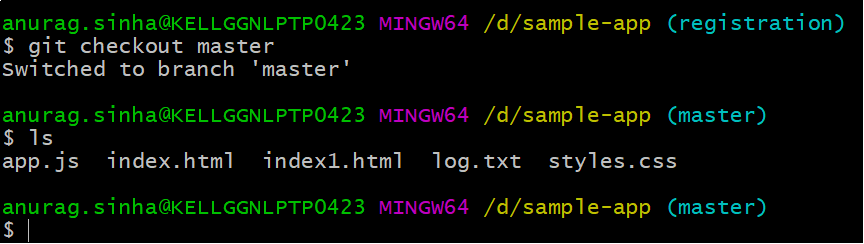
Once we checkout to master and do a ls command, we do not find registration.html and registration.js
git merge
git merge command is used to merge 2 branches, in our case we have 2 branches master and registration with different sets of files. We can merge registration to master, let’s do it.
git push
Till now, we have been working with local repository; now it’s time to push our changes to a remote repository, where in any one else too can get our changes. Let us go to github.com and create an empty git repository; afterwards we would push our local changes to the remote one.
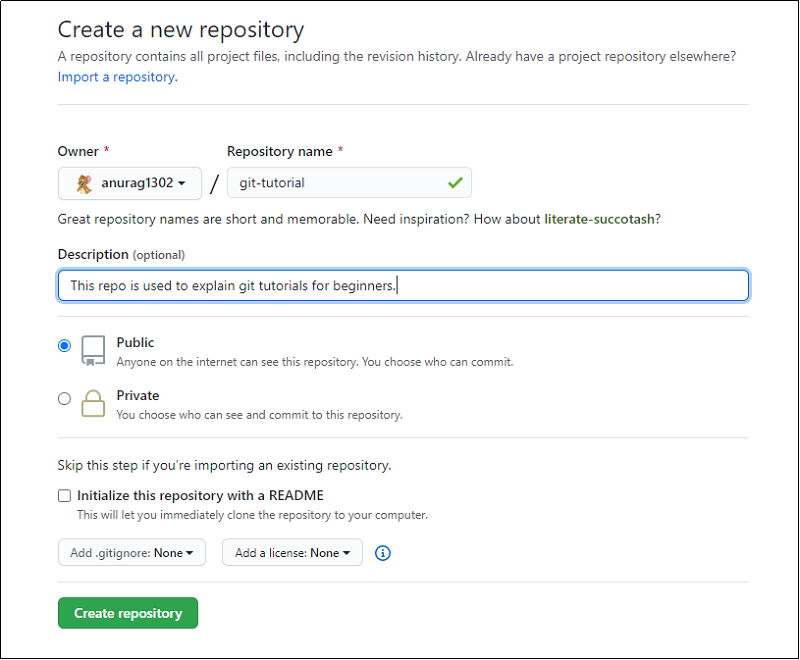
Provide a valid repository name, a related description, make the repo public. I already have .gitignore file and hence I have not added it over here.
The remote repository ‘git-tutorial’ gets created. We will now push our existing local repo from git bash. We execute the below command to add a remote named origin (generally remote is named as origin). git remote add origin "https://github.com/anurag1302/git-tutorial.git"
Currently a remote named origin has been added, now we will push our local master branch to the remote.
git push –u origin master -> pushes the local master branch to the remote master branch and sets up a tracking too. A simple git push command too will push the local contents, but the tracking won’t be setup.
Once the push command is successful, we will see that the remote repo contains our code.
Let us create a ReadMe.md file in the local repo, edit it and push it to the remote origin.
We added the ReadMe.md file, edited it, committed it to local repo and then pushed it to the remote origin.
We see only one branch in remote origin, i.e. master. Let us push our registration branch too.
git checkout registration,git push –u origin registration. We see that registration branch has been added in the remote repo on Github.
git pull
git pull command is used to pull contents from the remote repo.